DIY Office Remodeling | Floors
The floors are done and we are well on our way to the cabinets!
If you’re new to this series, I would love to catch you up. My office was in desperate need of remodeling and the floors had to go! (click here for the original post)
After a lot of browsing around for floors, I realized that there was nothing out there within our budget that I liked. The floors were either gray or very dark and the ones that we semi-liked were out of our budget. Being the DIY’ers that we are, we thought, why not make our own floors? And so our journey began! It wasn’t that difficult, just a bit time-consuming. What’s great about this project is that it’s entirely customizable and if I ever change my mind about the floor finish, I can always sand and stain!
We also decided to place our custom floors on top of the laminate flooring that was there. This is because the laminate floors (which we installed years ago) have great weather-sealed underlayment plus quiet padding and the floors themselves were already weathered sealed so it would be layers of sealed floors.
Tools & materials used:
5mm thick 4’ x 8’ Sande Plywood - We cut them to 5 3/4” wide x 4’ long panels and since we did the stagger every other row had 2’ piece long panels.
Orbital sander with a 220 grit (we just wanted to smooth the edges down a bit)
Table saw
Miter saw
Nail gun with 3/8” nails attached to a portable compressor (Compressor & Nail Gun)
Contour cage
Square floor sander (we rented from Home Depot)
Floor buffing pad and a 220 sanding pad
Shop vacuum
Microfiber roller
Roller & pole
Wood Filler (Plastic Wood) - we used this for the corners where the door frame met the wood.
We finished the floors with two good coats of the Bona Mega Wood Floor Finish in Extra Matte since I wanted to keep as much as the natural color as possible.

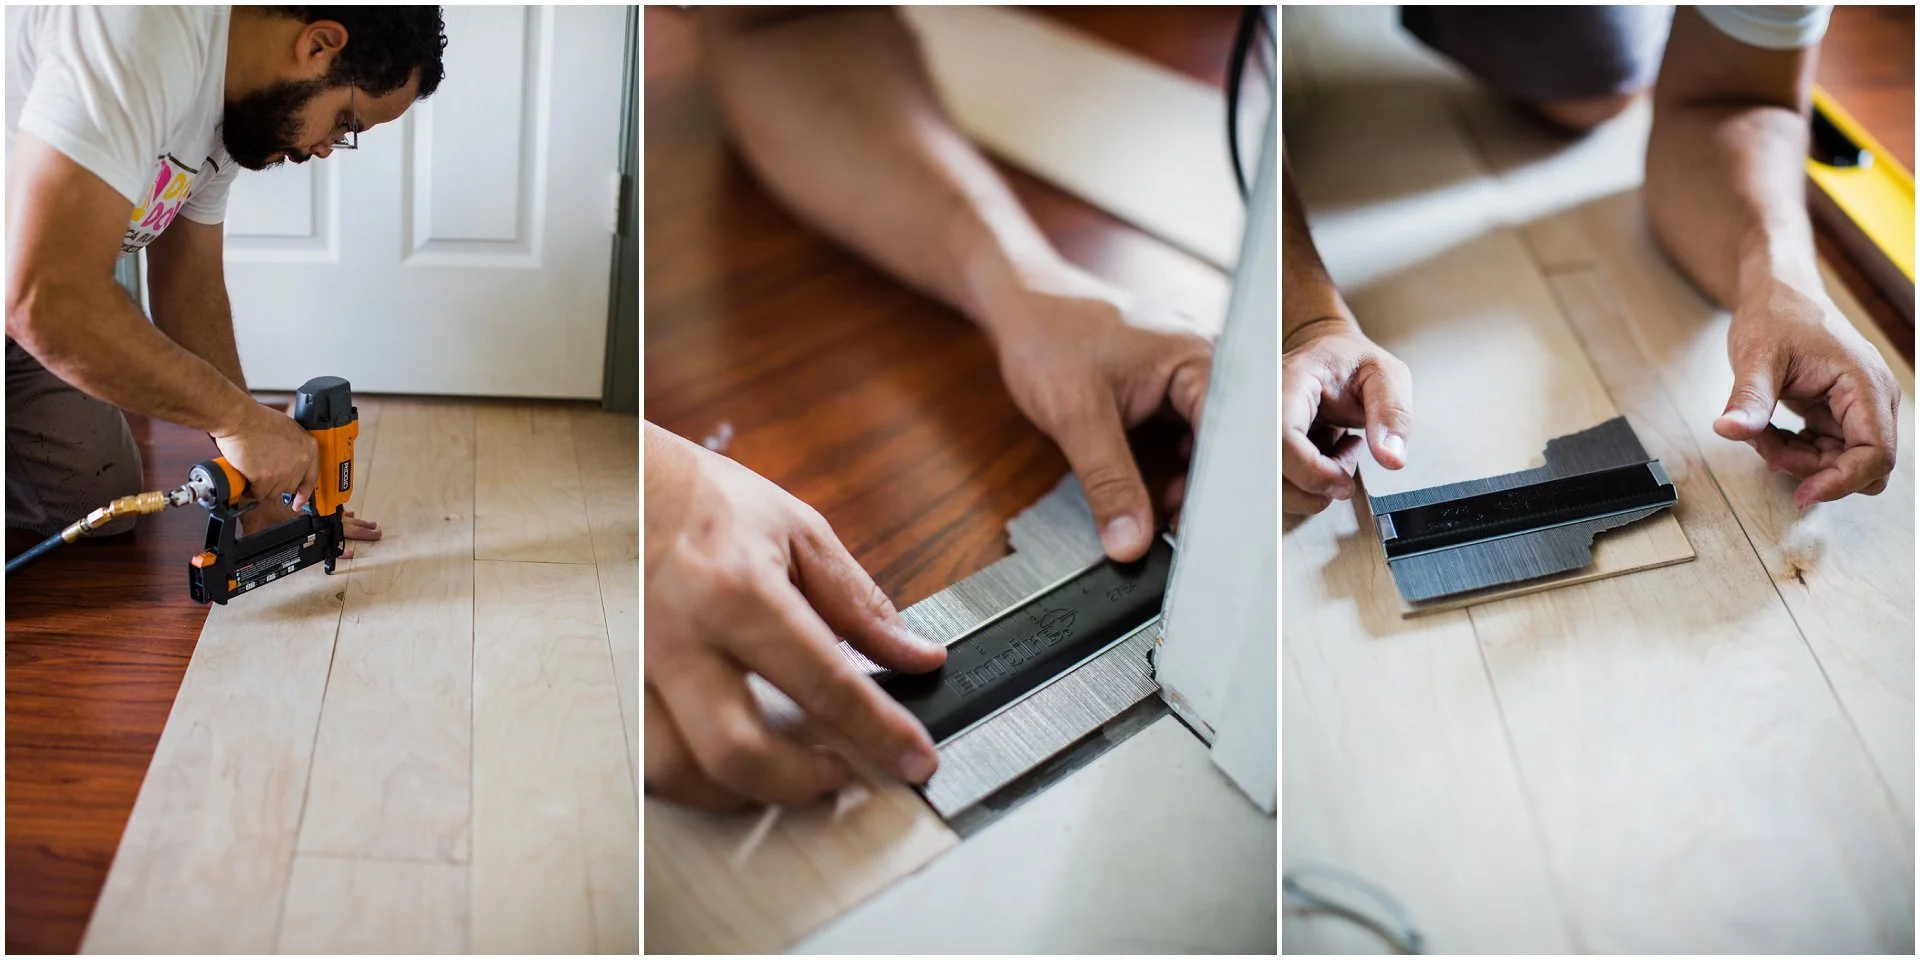
This little tool (contour cage) is a time and life saver!

As you can see, the laminate floors that were there before were practically red. It was just time for a change!


I absolutely love how they turned out. I love the fact that some panels “creak” a little when you step on them and I love how smooth they are. I just want to walk barefoot on them all day!
Next step… The wall to wall cabinets.